Glaze Exploration:
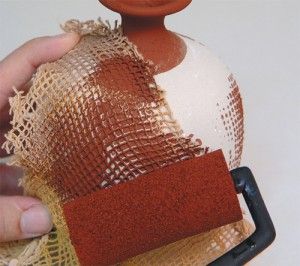
This glazing technique uses textured cloths and outside pieces to create an underlying textured look. In the picture the potter is placing a piece of worn burlap onto a ceramic pot and rolling glaze over it. This allows the glaze to fall through the holes of he burlap and leave an interesting firing texture.
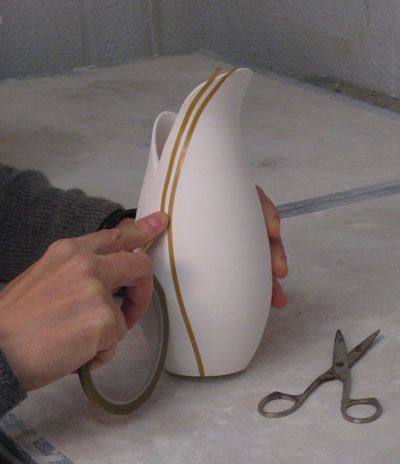
This glaze technique is used after an base layer has been applied. The potter is using tape to preserve the glaze under to unsure the color remains as applied. After the tape is applied, the potter will then glaze over top the tape. When the top layer of glaze has dried, the potter will remain the tape and fire the vessel. after firing, this will leave a straight geometric design on the vessel.
Irresistible Cups Project:
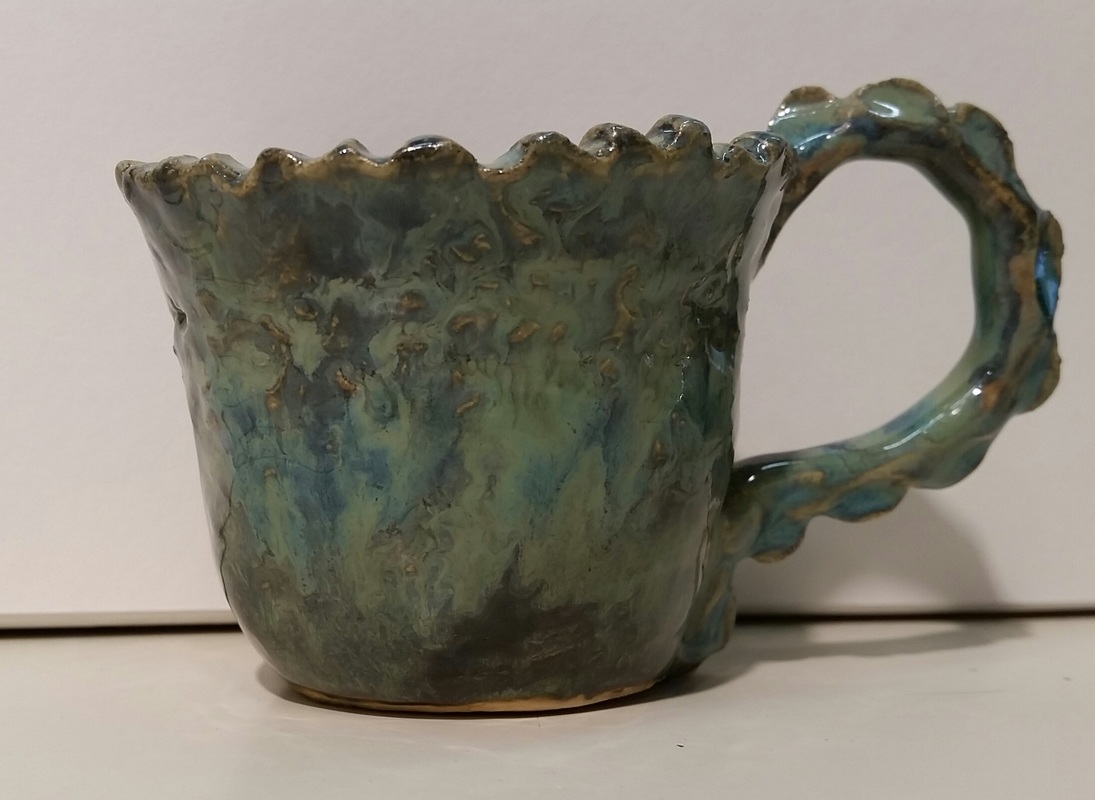
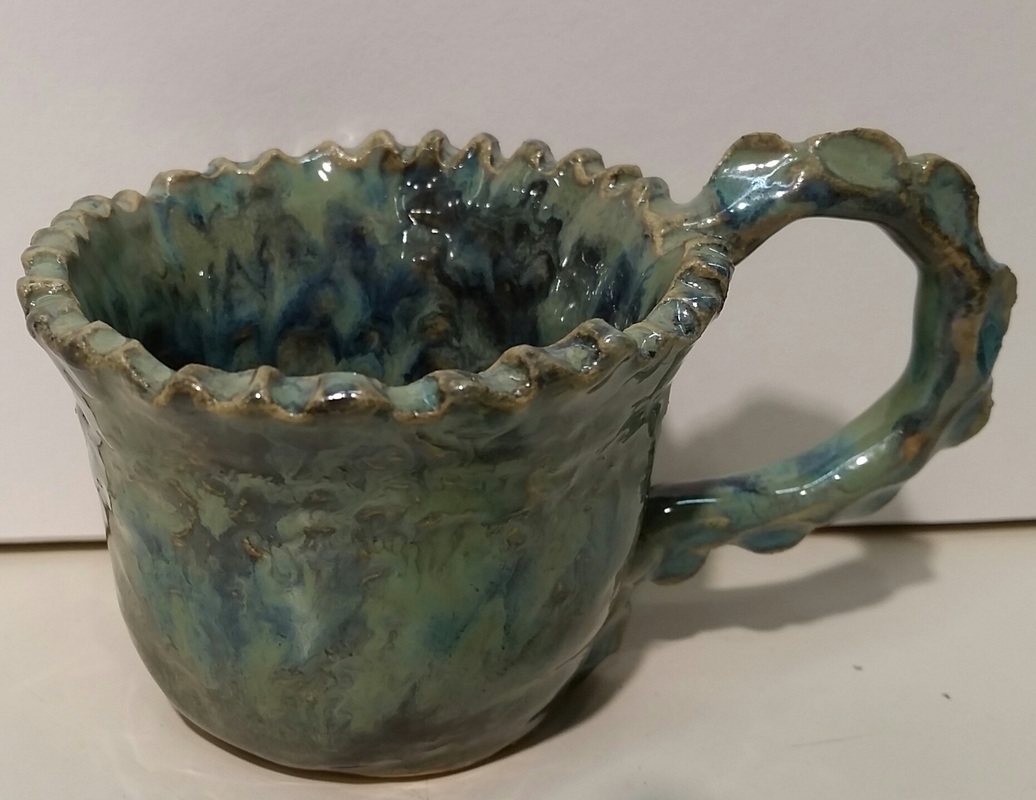
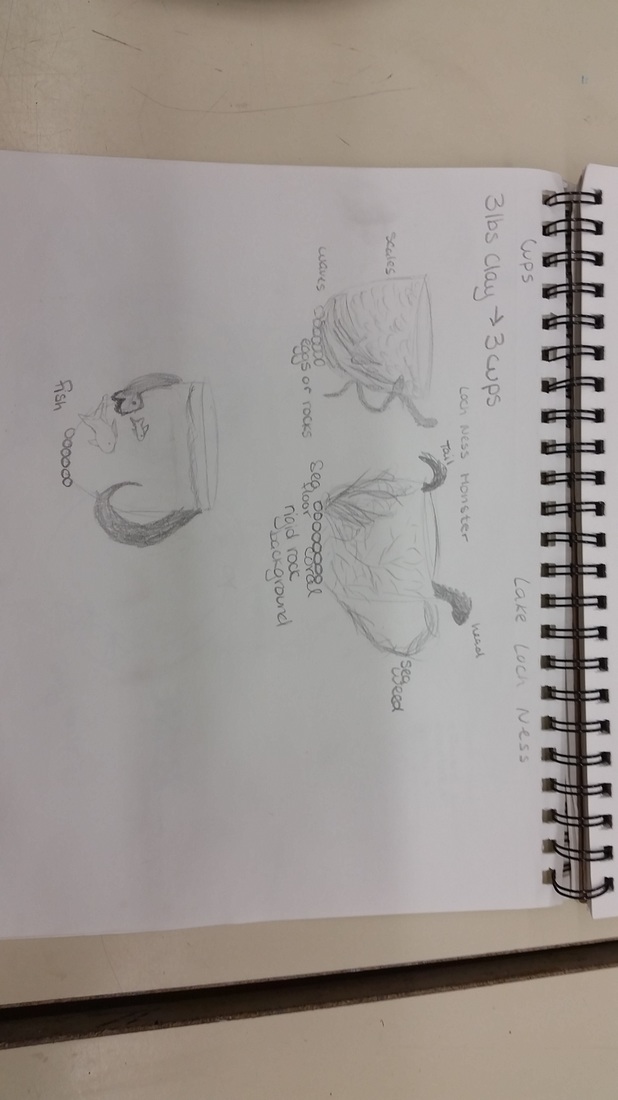

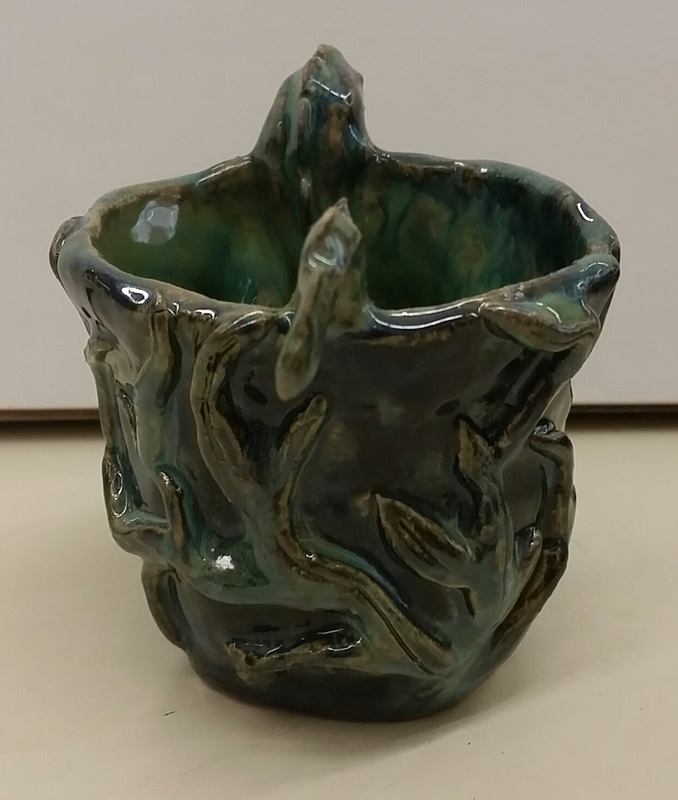
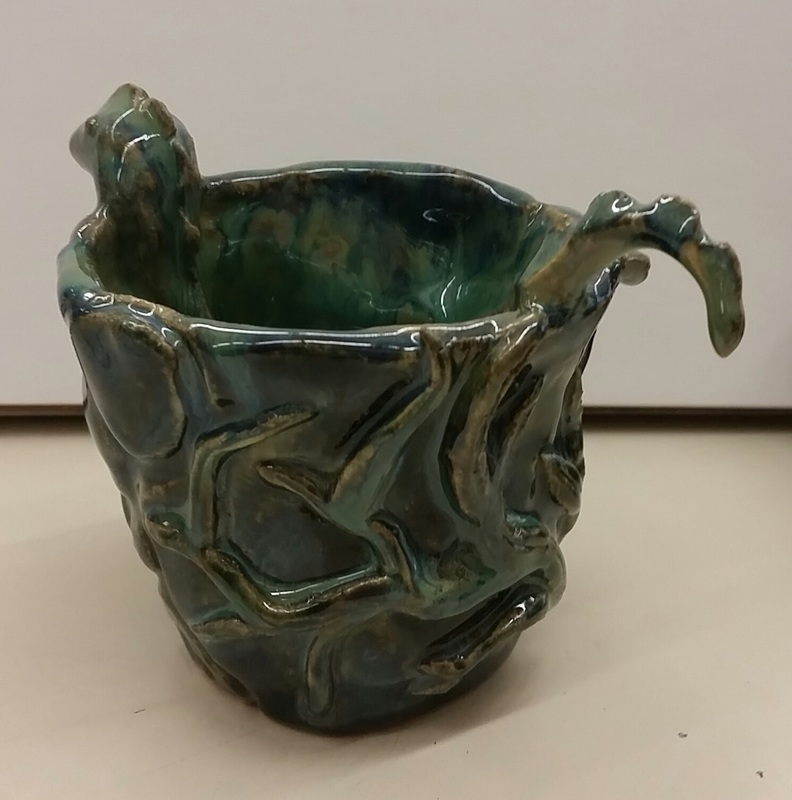
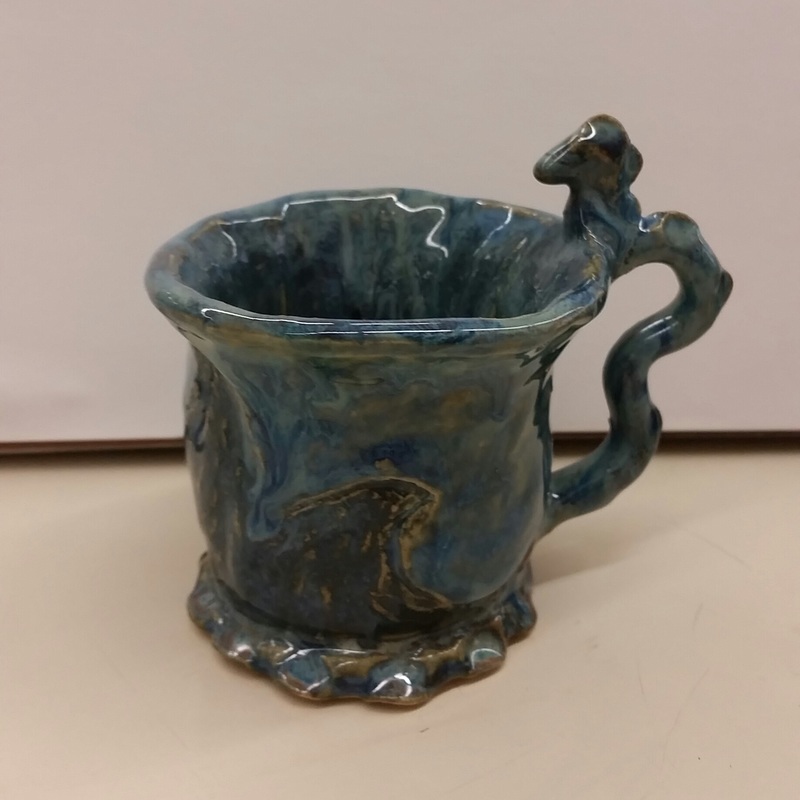
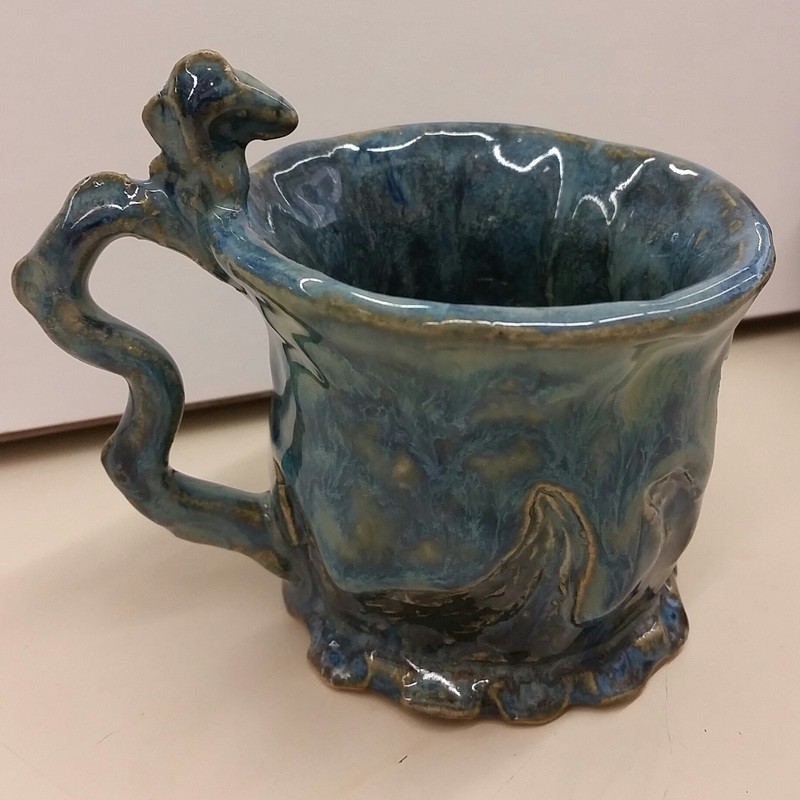
To create and finish this project I used my own unique ideas that were inspired by pictures. I looked at animal cups on Pinterest, along with textured cups. My own unique ideas consist of the entire cup. I did not directly or indirectly take ideas from others. These ideas are entirely my own. My art work displays what I like and who I am. I chose to display the Loch Ness Monster, "Nessie", which I have seen in person. Well... I've been to Scotland and went on a boat in Loch Ness. I also love dark blue and green glazes, especially when combined. Challenges I faced while working ere the handles. Those handles, when in the wet clay stage, were very fragile. to fix this I used newspaper supports and welded the ends to ensure stability.
Slab Tiles: With a Cultural Twist
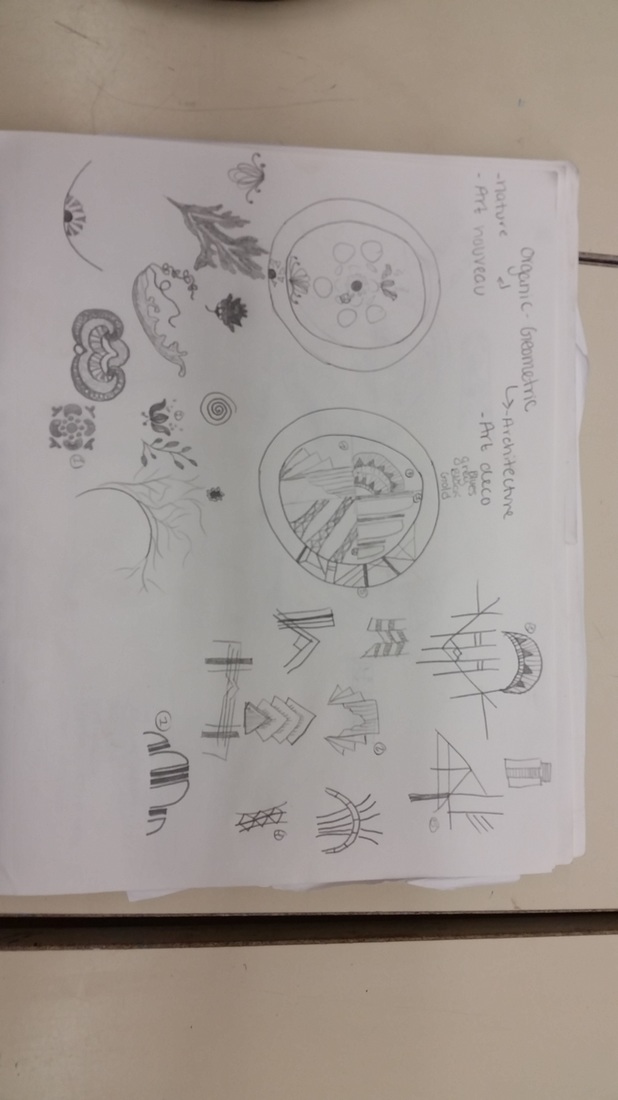
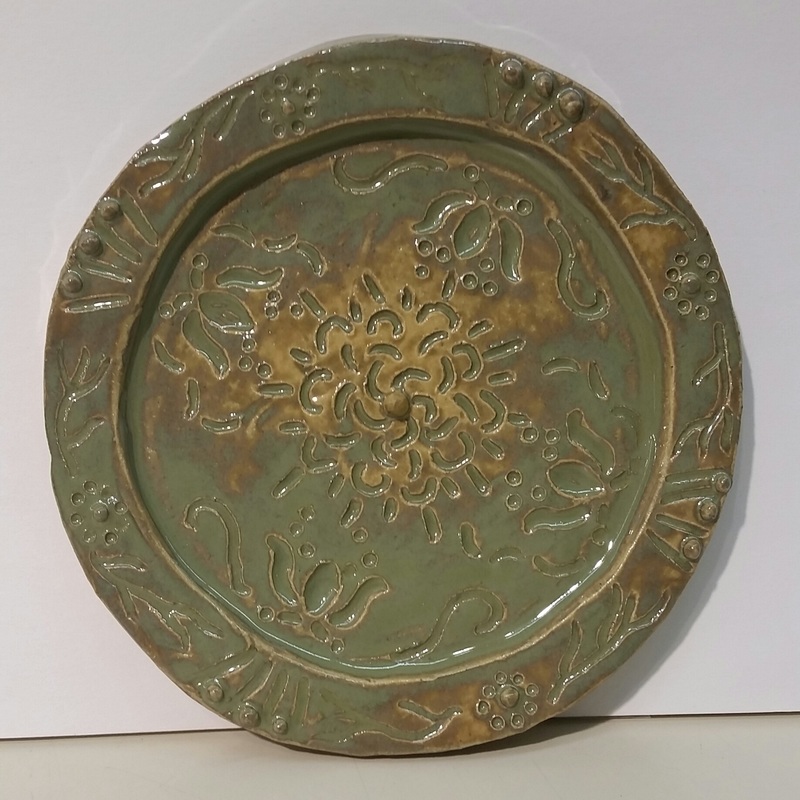
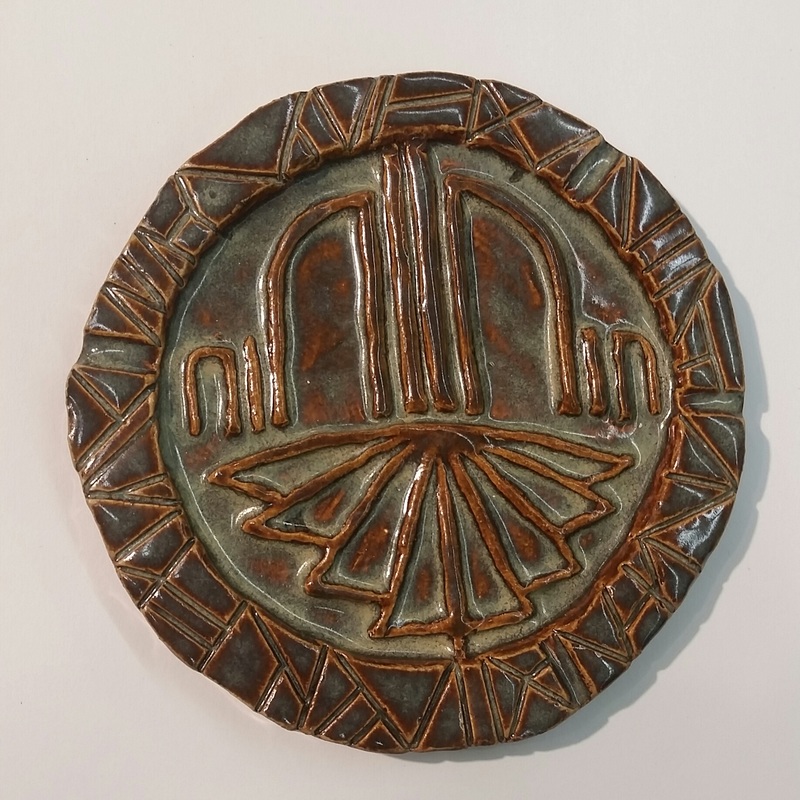
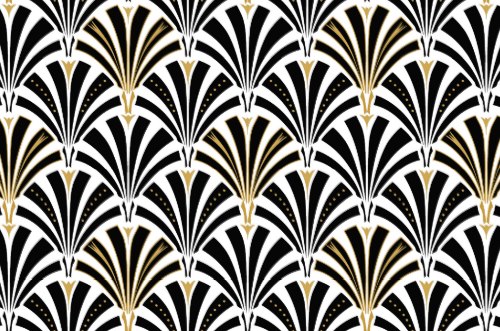
I love design work with patterns. For my opposites I chose art deco and art nouveau. For my own unique ideas I used both additive and subtractive techniques, while combining multiple aspects of each opposite to create a finished work. I had many issues when coming up with my ideas for the opposites. I was struggling to find a cultural meaning behind a more architectural verse natural theme. Using types of art movements helped me add a cultural aspect to my work. I enjoy the way my slabs turned out. If I were to choose something to do differently, I would have applied one additional coat of glaze onto my art nouveau tile.
Lidded Vessel:
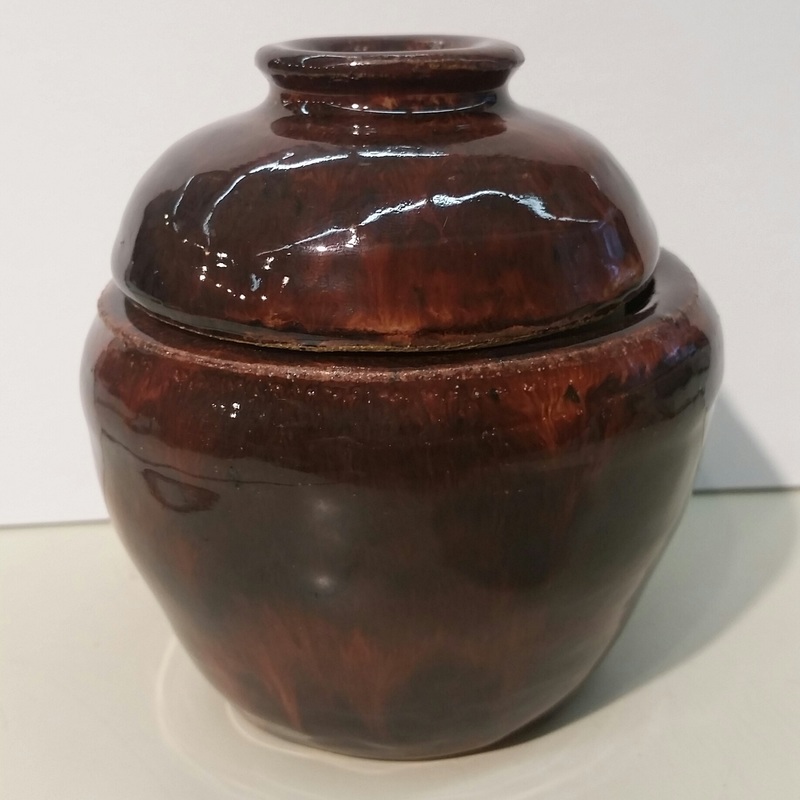

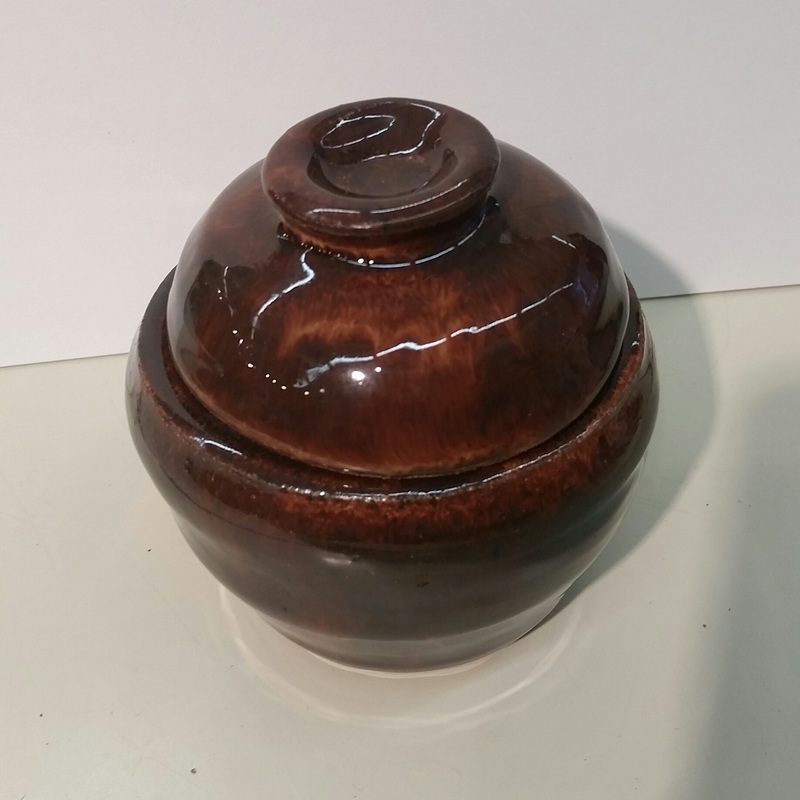
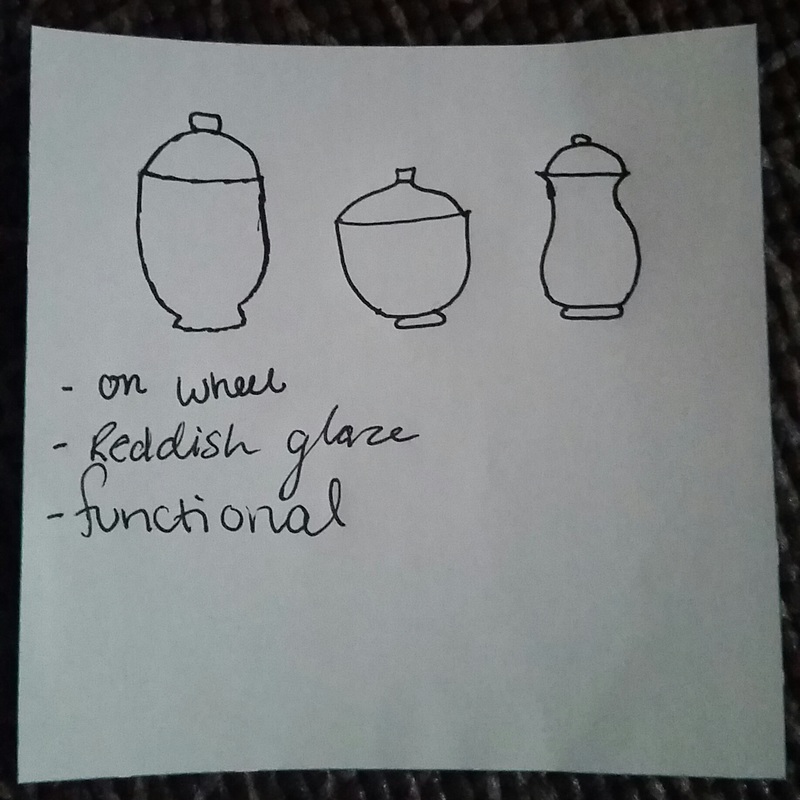
I enjoyed this lidded vessel project greatly! I created a small pot with a lid with a wonderful glaze! I threw this pot and lid on the wheel. I then trimmed it to perfection. The lid doesn't fit exactly how I would have liked it too, but it still works. The glaze is a layering of 2 glazes that I will keep to myself for later use. I believe this was a success and the only thing I would change would be to make the lid a little bigger.
A Set Of A Different Color:
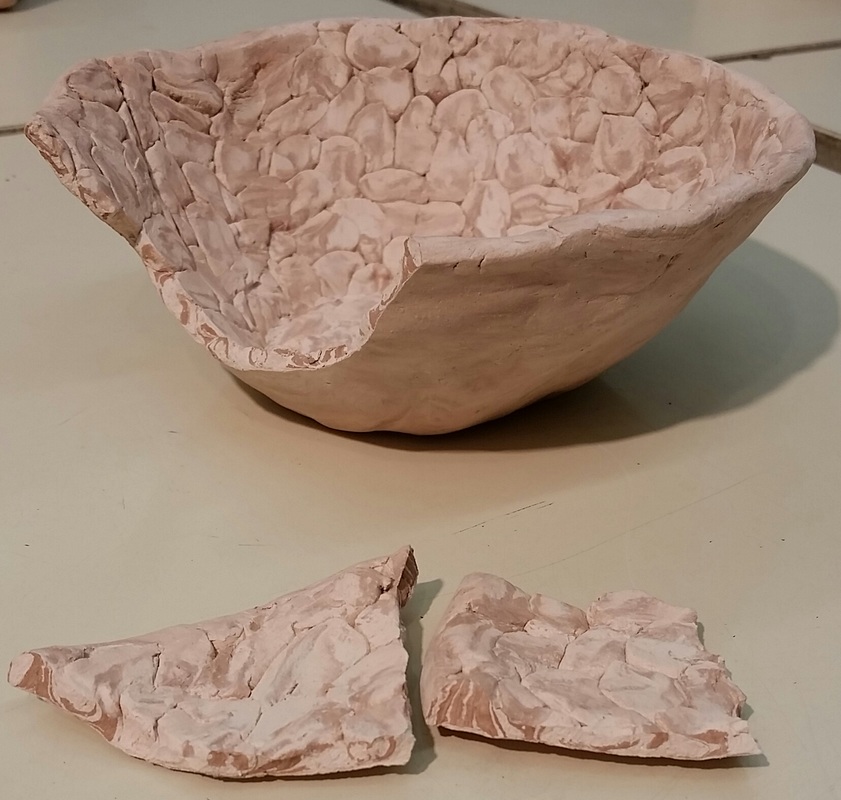
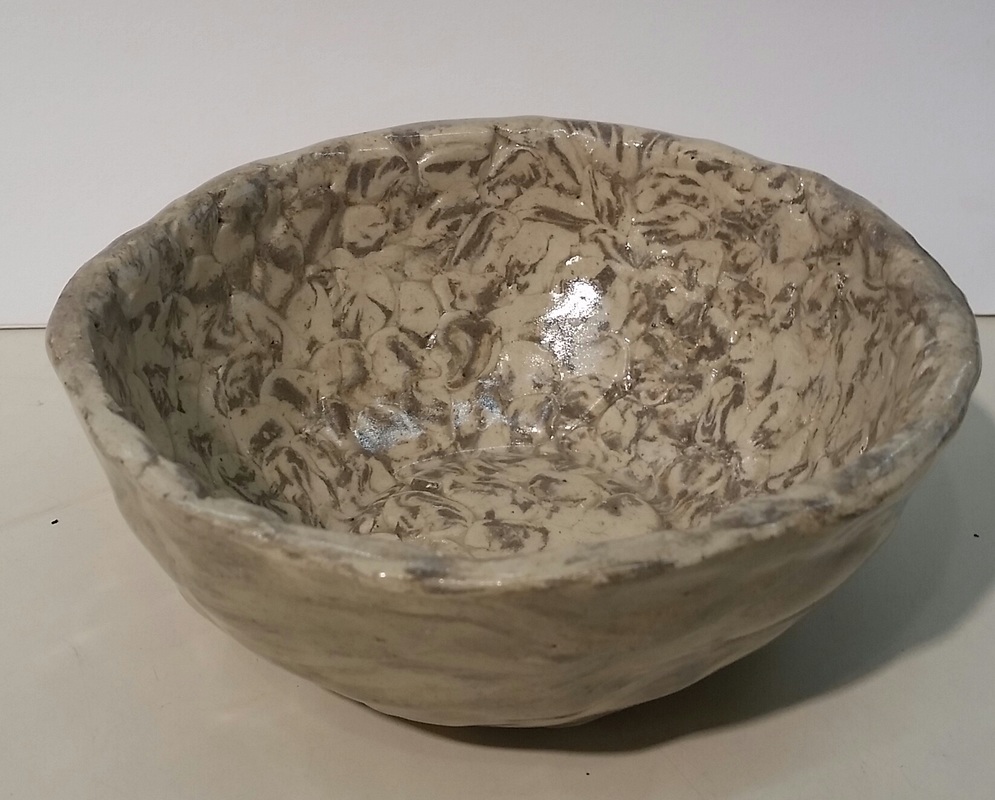
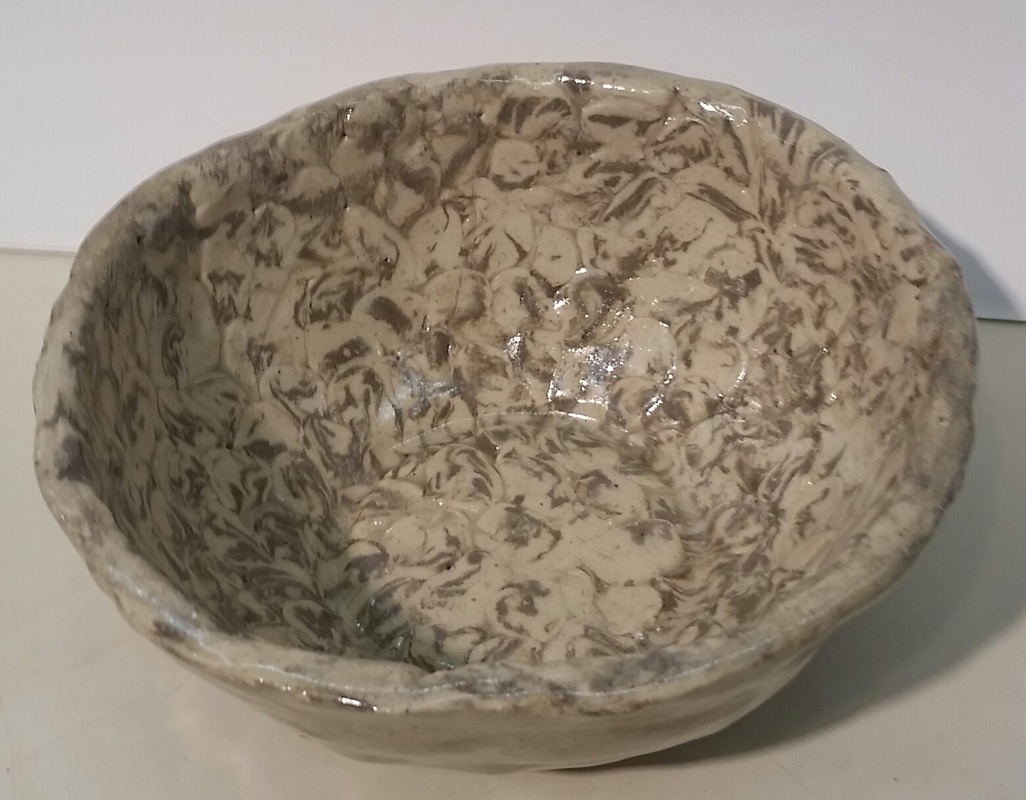
I made a set of two bowls out of 2 kinds of clay. I used buff clay and red clay. To make these bowls I got a plastic bowl and covered it with newspaper. I then rolled a coil full of the 2 kinds of clay creating a marbled effect. I then sliced the coil. I then placed the slices side by side on the newspaper covered bowl until fully hidden. I then welded the outside of the bowls to ensure that they would not break when being fired. I am happy with how the one bowl came out!! Someone must have knocked over or bumped my other bowl, because it is now in pieces. I would not do anything differently except that I would not have let anyone touch my stuff. I wish that experienced kiln loaders or a teacher should only be allowed to load and unload the kiln. Also people should not touch things that are not theirs.
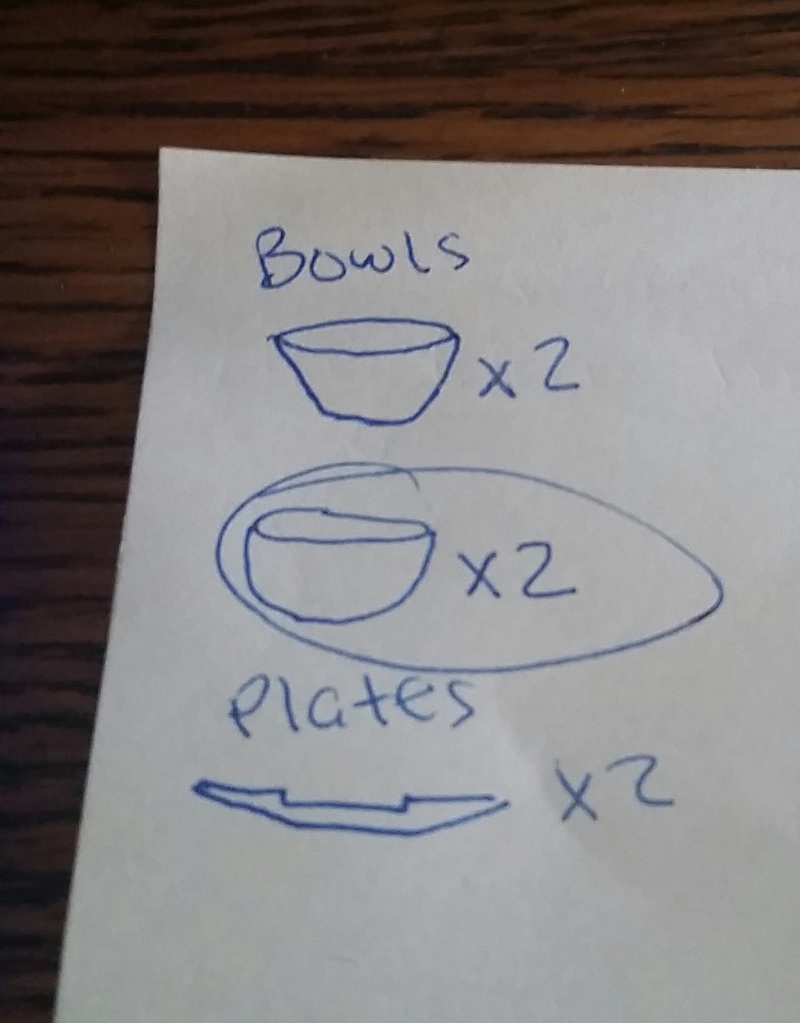
Food Specific:
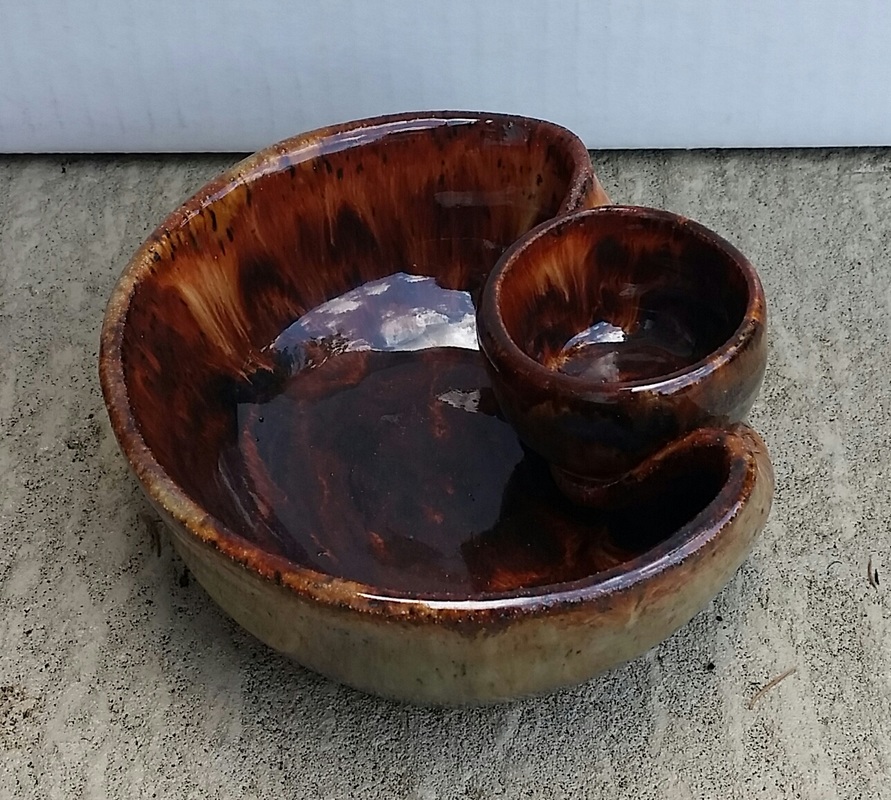
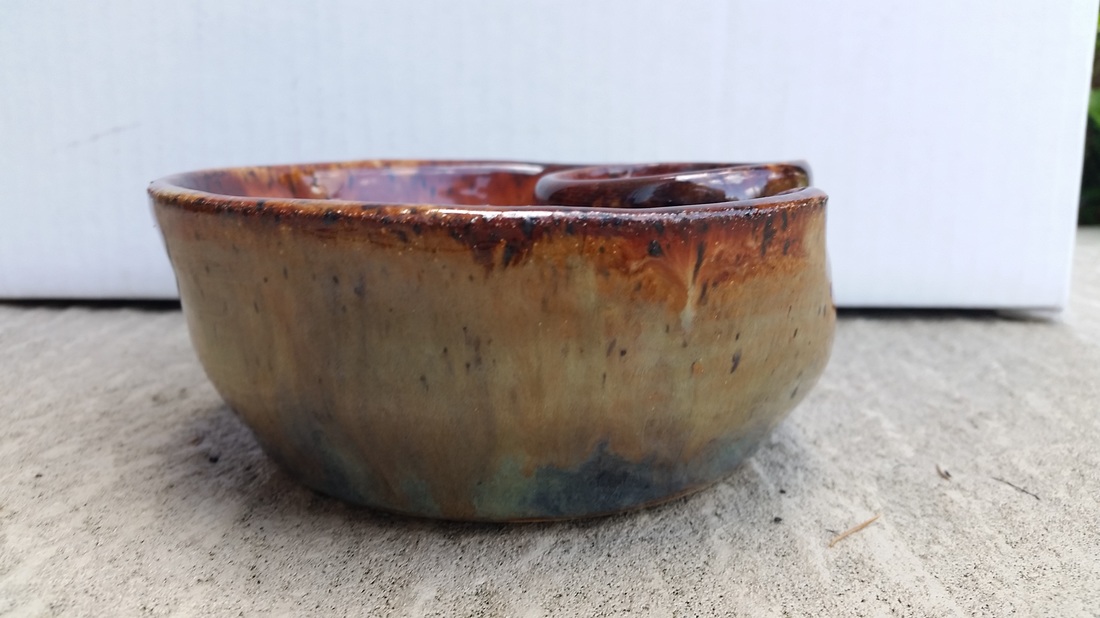
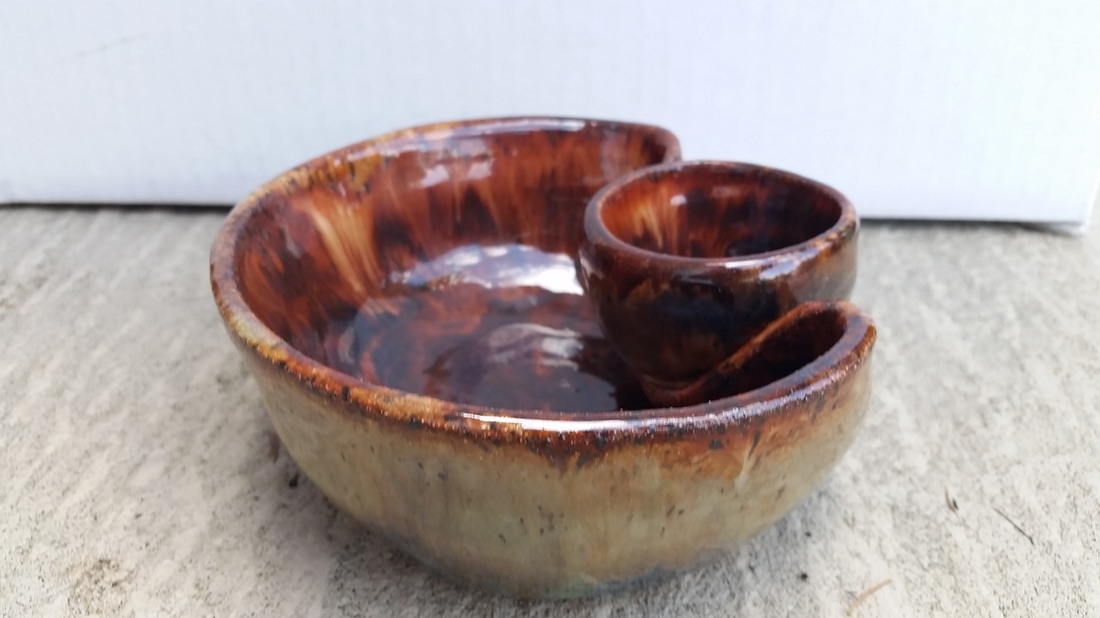
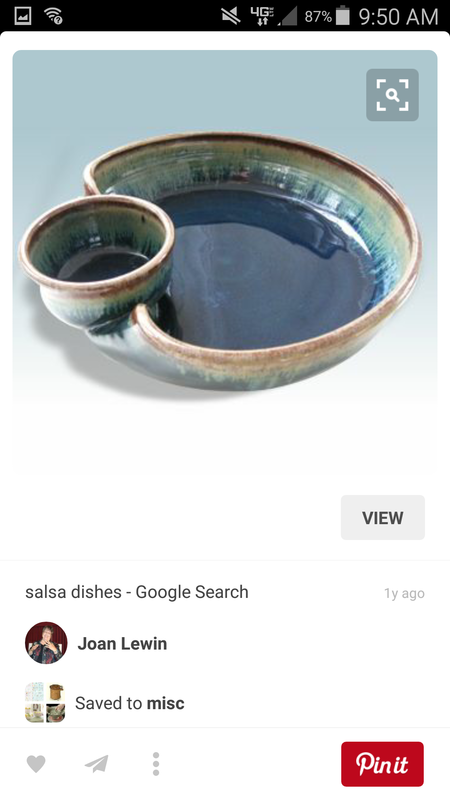
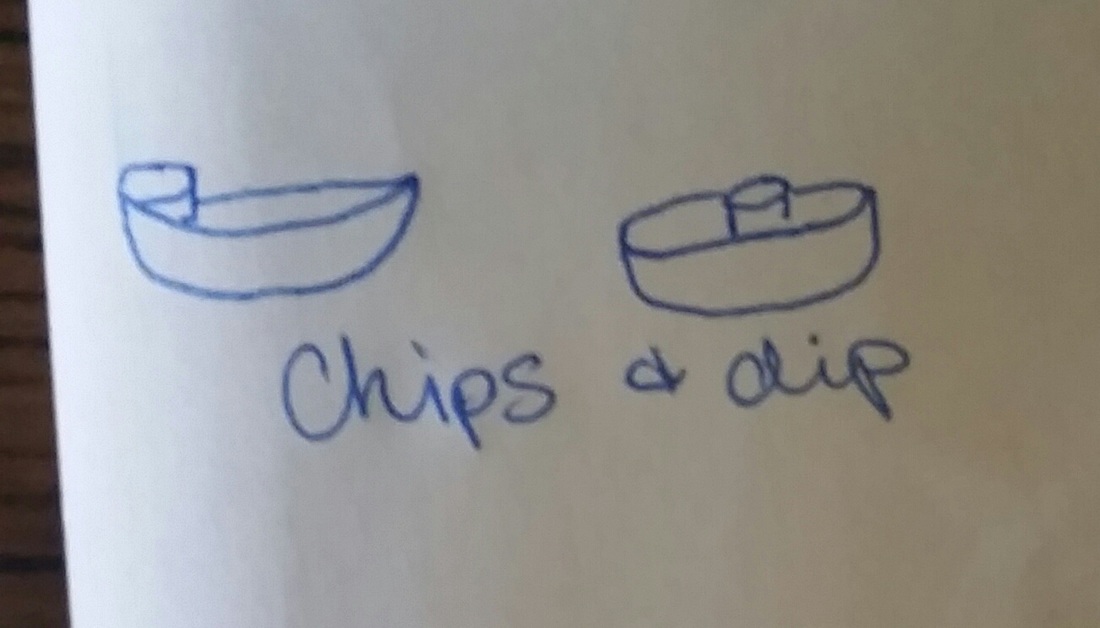
Food specific is was one of my favorite projects and I believe one of my most successful. I threw both bowls on the wheel. I trimmed the first smaller one then pressed it into the side of the bigger one. I scored and slipped the bottom of the small bowl and attached it to the big bowl. I made sure that both bowls together lined up and made a level rim. I them trimmed the big bowl. I glazed the bowls with deep sienna speckle, blue midnight, ironstone, and another glaze I do not remember (possibly toasted sage). I would have done nothing differently, but if I had to choose it would be to have had more clay to make bigger bowls. Best project ever!!!
Master Artist:
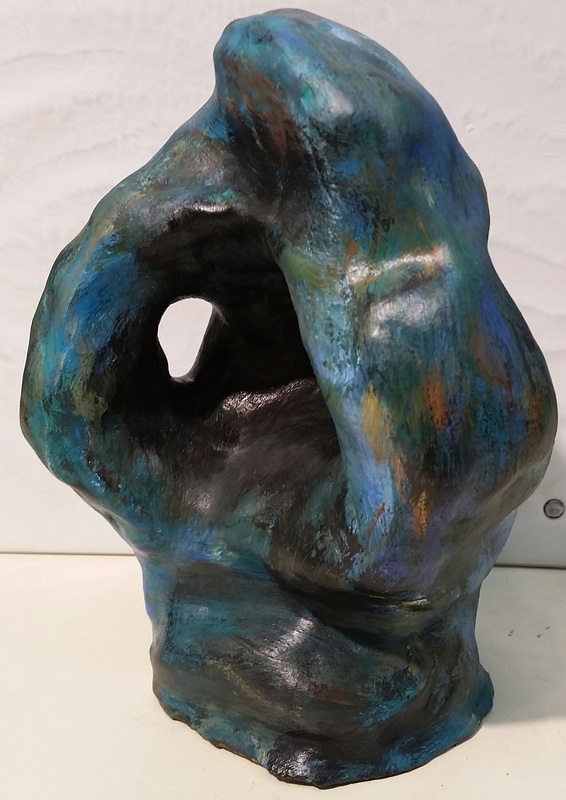
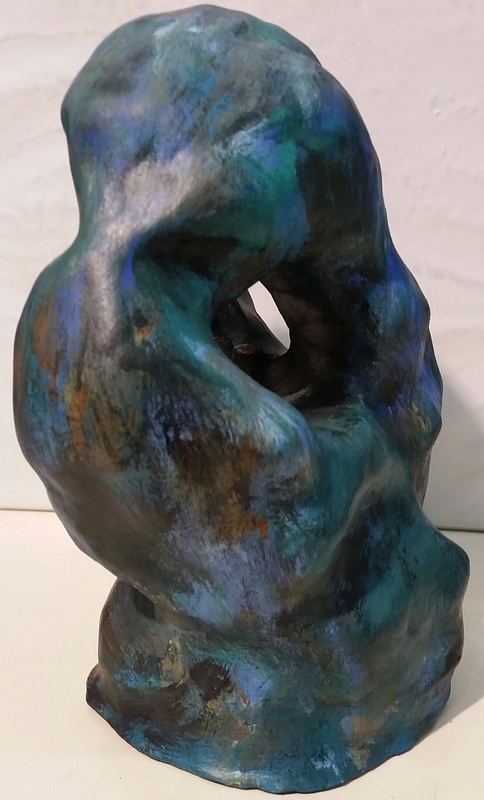
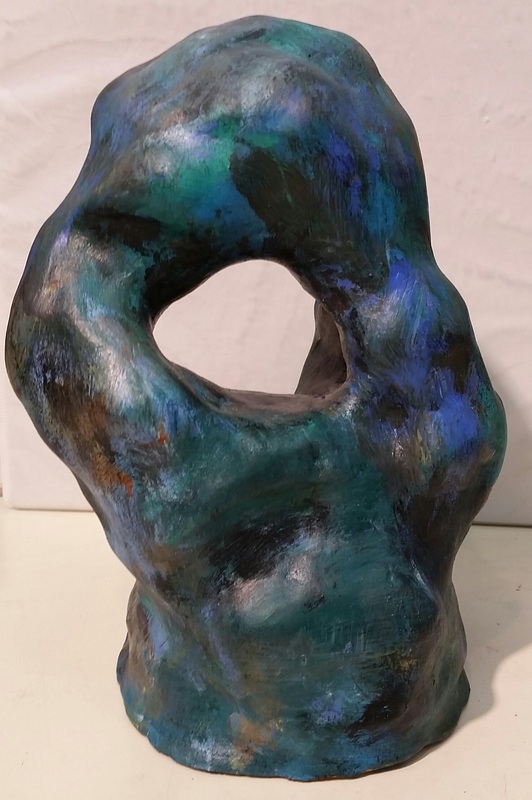
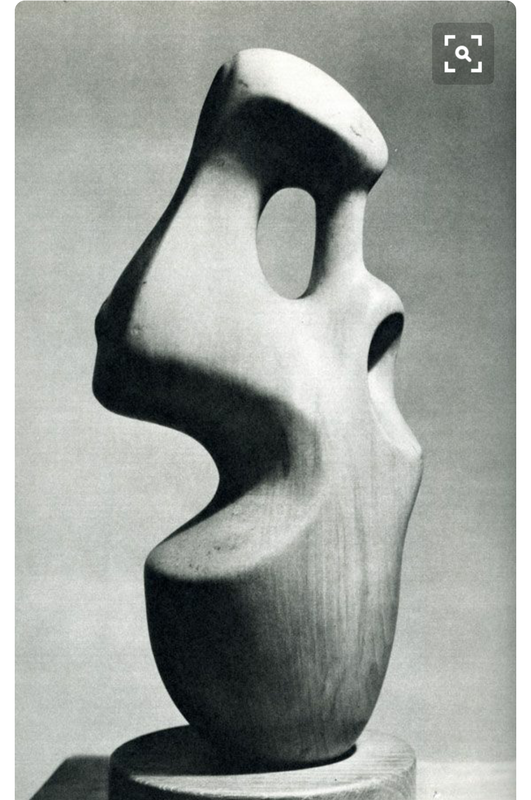
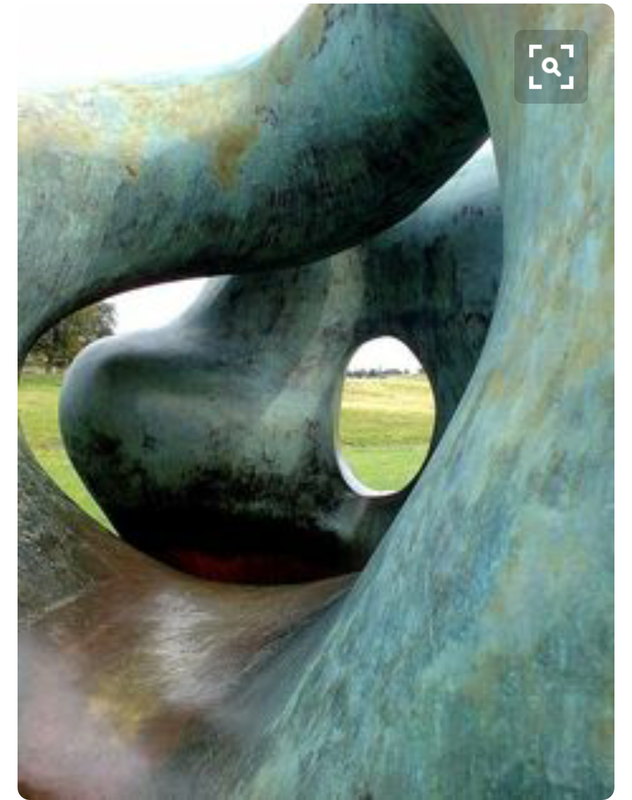
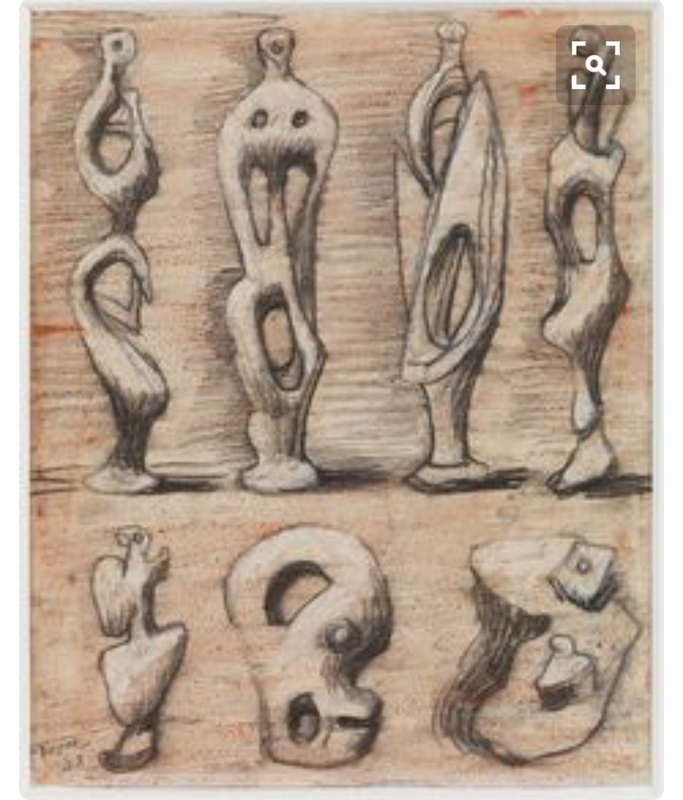
My master artist was Henry Moore. Moore is a sculpture who creates non-objective expressive forms with elements of a human form. I based my design off of a combination of his works and made it seem as if it fit in with his body of work. I started by creating a newspaper and tape armature. I then layered clay and covered the armature. I continued to weld it all together and smooth it with a sponge. I painted the final product to look like his weathered copper sculpture. I am pleased with the result, but not ecstatic. I wish I spent more time painting and paid more attention to my color choice. The painting is the only thing I would have changed.
